Draw your first flow.
A flow is the script your bot follows when a lead messages in: what to say, what to ask, and what to do with each answer. If you come from another WhatsApp tool, it is what those call a sales script or SSD. This guide builds a real one, click by click.

The five kinds of step
Everything you can add lives under “Add a step” in the editor. There are only five, and each does one thing:
- + message
- Sends the customer a message. Text, photos, a PDF, or all three, with an optional delay first.
- + question
- Asks something and waits. Each answer you offer becomes its own path.
- + another flow
- Jumps into a different flow you have built. This is how flows combine.
- + hand to me
- Stops the bot for this chat and notifies you to take over.
- + end
- Ends the conversation. Nothing more is sent.
Step 1: Create the flow
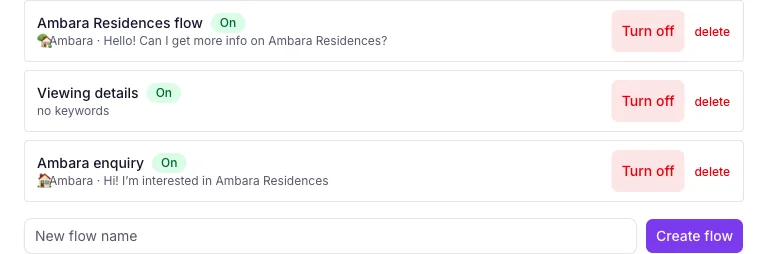
Open your project, find the Flows card, type a name, and press Create flow. The name is for you, not the customer. You land in the editor with a blank canvas.
Step 2: Write the first message
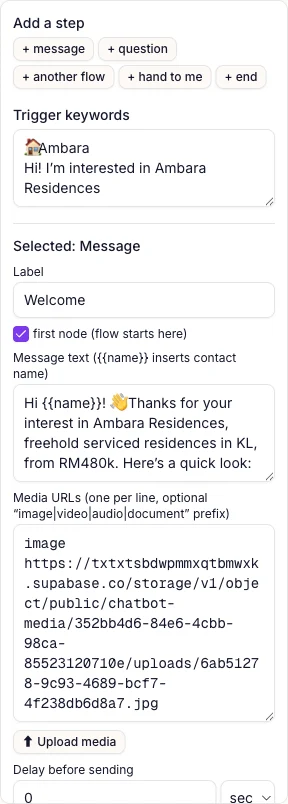
Press + message, then click the new step to edit it. The panel on the right is where everything happens:
- first node marks where the flow starts. Your first step gets it automatically. To start somewhere else, untick the old step before ticking the new one: two ticked steps leave the starting point ambiguous, and nothing warns you.
- Type {{name}} anywhere in the text and it becomes the contact’s name when the message sends. If you have no name stored for them, it says “there”.
- Upload media attaches photos, a video, or a PDF to the message.
- Delay before sending waits that long before this message goes out. Zero means straight away. This same delay is how follow-ups work, which step 3 comes back to.
Step 3: Ask a question and branch
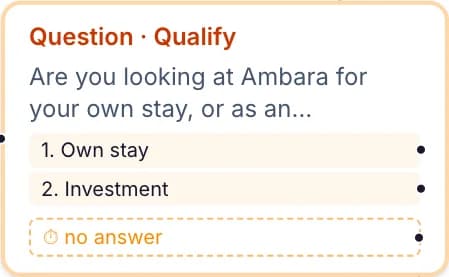
Press + question. Write the question, then the answers, one per line. The customer sees them as a numbered list and can reply with the number or the words.
Each answer gets its own dot on the step’s right edge. That dot is that answer’s path: whatever you connect to it happens when the customer picks it. This is how one flow treats an owner differently from an investor.
The dashed ⏱ no answer dot is what happens when the customer does not pick an answer. Point it at a follow-up message and set that message’s delay to, say, two hours: two hours of silence sends the follow-up, and picking one of the answers cancels it.
Worth knowing: if they reply with something that is not one of your answers, the bot answers that question from your saved answers, and the follow-up still goes out on schedule. Offer an escape hatch such as “Something else” when you would rather catch those replies in the flow itself.
Step 4: Connect the dots
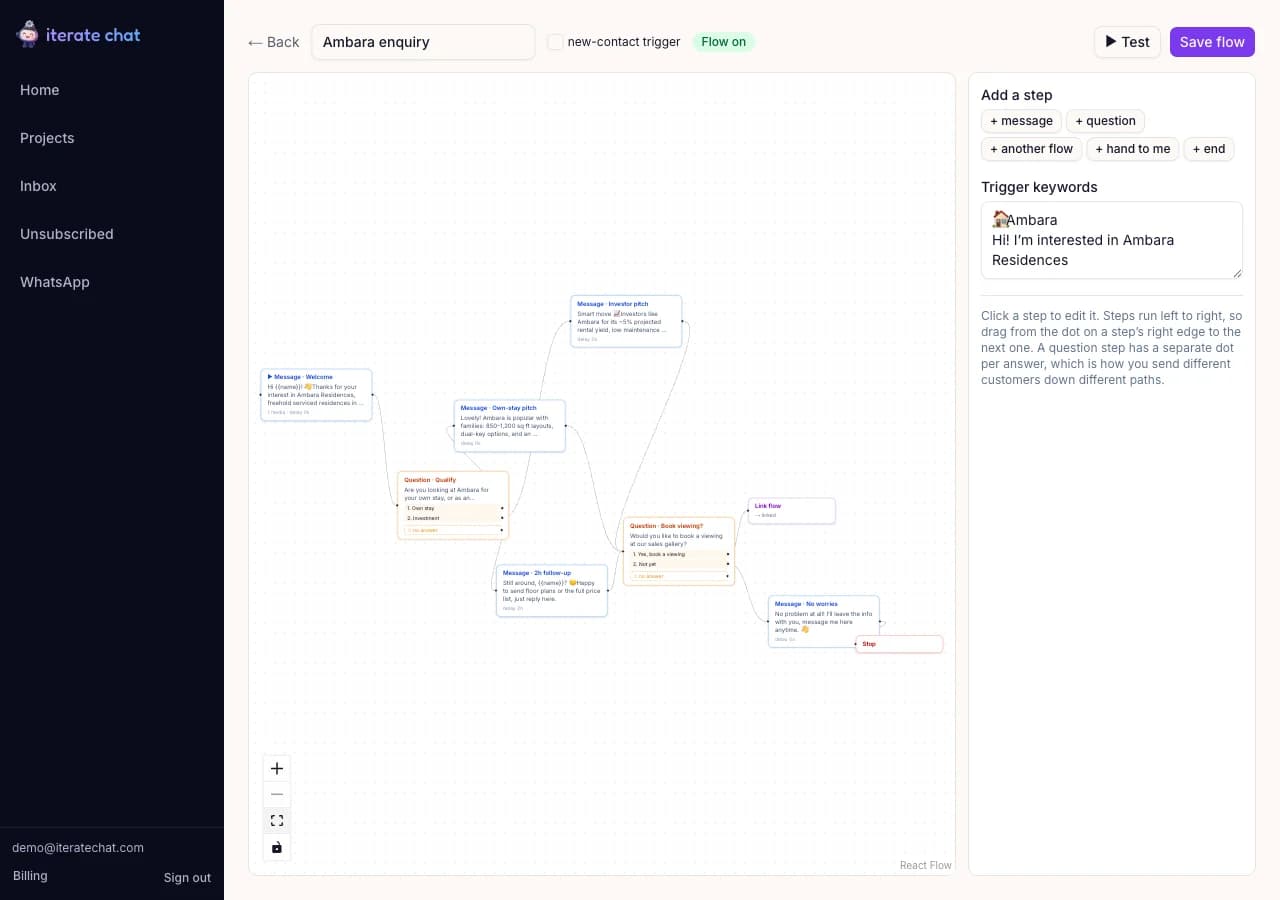
Steps run left to right. Drag from the dot on a step’s right edge to the left edge of the next one. Branches can meet again later: in the flow below, both answers and the follow-up all lead to the same booking question. Backspace deletes whatever step or line you have selected.
Step 5: Send them into another flow
Press + another flow, click it, and pick the target. When the conversation reaches this step it continues in that flow, from that flow’s first node.
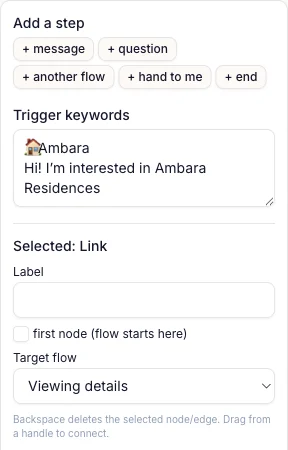
Split things you reuse into their own flow. A viewing-booking flow, for instance, can be the ending of every project flow you run: build it once, link to it everywhere. A flow that is only ever reached this way needs no trigger keywords of its own.
Step 6: Test it before anyone sees it
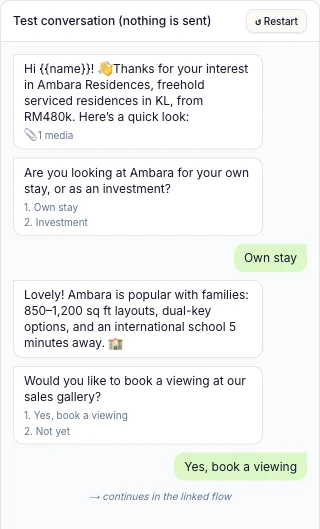
Press ▶ Test. A test conversation opens next to the canvas. Nothing is sent to anybody: you play the customer, click through each answer, and watch delays, follow-ups, and hand-offs happen exactly as they would live.
Walk every branch once, including the path where you never answer. It is much cheaper to meet a dead end here than in a customer’s chat.
Step 7: Save, set the trigger, go live
Press Save flow. Changes are not live until you do.
Then tell the flow when to start, in the Trigger keywords box, one per line. A message that contains a keyword starts the flow, capitals or not, so pick something nobody types by accident:
- Good: 🏠Ambara, or the exact sentence your ad pre-fills, like “Hi! I’m interested in Ambara Residences”.
- Bad: a common word like price. A flow that is already running is safe, because replies to it count as answers. The damage comes later: any message containing that word once the flow has finished starts the whole sequence again from the top, so a customer who asks about price next week gets your greeting a second time.
The new-contact trigger checkbox starts the flow for anyone who messages you for the first time, keyword or not. And the on/off switch lives on the project page next to each flow, so you can pull one out of service without opening it.

That is the whole editor.
Five kinds of step, dots you drag, and a test panel. The first flow takes fifteen minutes; the second takes five. And if you are still weighing whether you need flows at all, start with the WhatsApp auto reply guide: it covers the free built-in tools first.
Start the 30 day free trial